
Braai Entertaining for Beginners Made Simple
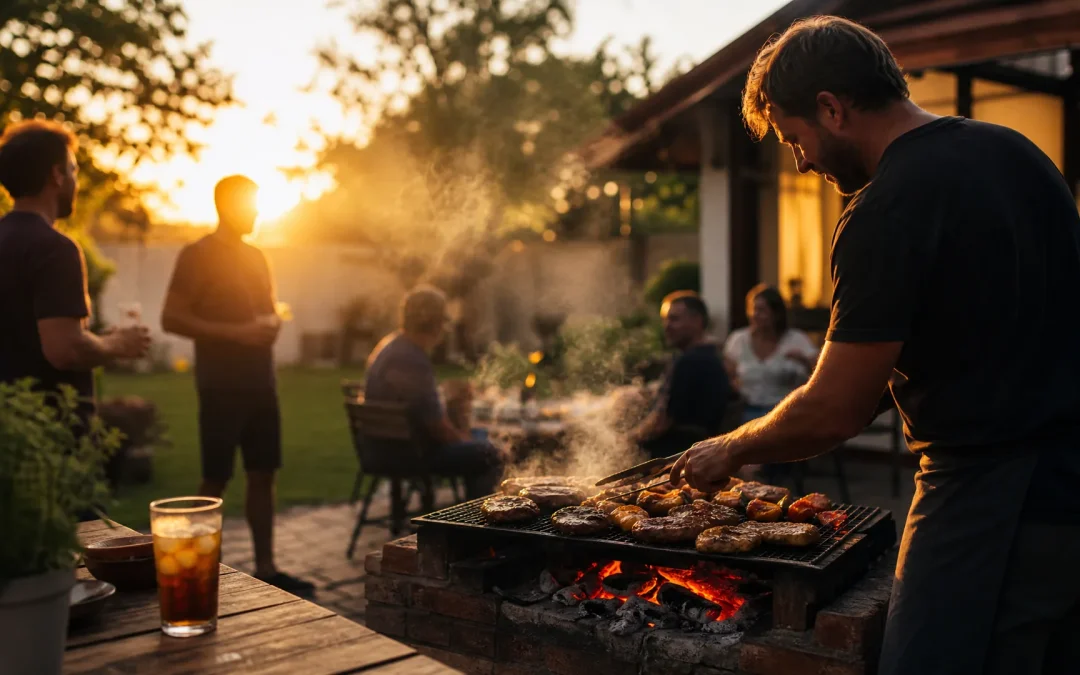
Braai entertaining for beginners can feel daunting, you’re managing fire, timing a meal, and keeping guests happy all at once. But here’s the truth: the braai is one of the most forgiving and joyful ways to entertain. Get a few fundamentals right and the experience largely takes care of itself. This guide walks you through everything, from choosing your first braai to the quick clean-up after the last guest leaves.
Why the Braai Is South Africa’s Ultimate Entertaining Format
The braai holds a uniquely central place in South African culture. It regularly crosses race, language, and background as a shared social ritual, which is why getting your first one right matters more than just the food.
Unlike a dinner party, a braai doesn’t demand a spotless kitchen or perfectly plated courses. The fire is the centrepiece, the gathering point, and the entertainment. Guests drift over, cold drink in hand, and conversation flows naturally around the coals. That unhurried rhythm is the whole point.
For a first-time host, that’s genuinely good news. Nobody expects restaurant-level precision. They expect warmth, good company, and something delicious off the grid. That’s entirely achievable, even if this is your very first time lighting up.
Choosing the Right Braai Before You Invite Anyone Over
Before you send those invitations, spend a few minutes thinking about your braai setup. The wrong unit for your space or group size creates unnecessary stress. The right one makes everything easier.
Wood-Fired vs Gas: Which Is Better for Beginners?
This is the first big decision, and there’s no universally correct answer. For a deeper look at both options, our guide on wood-fired vs gas braai covers the trade-offs in detail, but here’s the short version.
Gas braais offer temperature control at the turn of a knob. There’s no coal-building phase, no waiting for the fire to settle, and cleanup is straightforward. If your priority is convenience and predictable results for a first event, gas removes a lot of variables.
Wood-fired braais deliver the authentic South African experience, the smell of real wood smoke, the ritual of building the fire, and a depth of flavour that gas simply can’t replicate. They take more attention, but many hosts find that process is half the pleasure.
For most beginners, a kettle braai or freestanding brazier is the practical starting point. It’s versatile, manageable in size, and widely available. As your confidence grows, many South Africans invest in a built-in or premium standalone unit. If you already know you want to go premium from the start, premium braai brands worth knowing is worth a read.
Getting the Size Right for Your Guest Numbers
A braai that’s too small for your crowd means cooking in stressful batches. Too large and it’s hard to manage heat efficiently. Our full guide on how to choose the right braai size for your garden gives you specific numbers, but as a rough rule: a compact kettle braai handles up to six guests comfortably. For ten or more, you want a larger barrel or built-in setup. If you’re working with a smaller garden, check out the best braai options for a small garden before committing to a unit.
Essential Braai Equipment Every Beginner Host Needs
You don’t need a cluttered toolkit to run a great braai. A few quality pieces beat a drawer full of mediocre gadgets every time.
Here’s what you actually need before guests arrive:
- Long-handled tongs, essential for turning meat without burning your arms
- A good braai grid, flat or hinged; hinged grids make turning multiple pieces at once much easier
- Firelighters or a chimney starter, remove the frustration from getting the fire going
- A braai thermometer, takes the guesswork out of doneness, especially for chicken
- Heat-resistant gloves, for adjusting the grid or moving coals safely
- A stiff grid brush, clean grid = better sear, fewer flare-ups
That’s the core kit. At Firehouse, every braai in our range has been hand-picked by people who have spent years around fire, we only stock what we’d light ourselves. That same perspective shapes the accessories we carry, so you won’t find filler products in our range.
Beginner Braai Tips: Fire, Timing, and the Art of Not Rushing
These are the two areas where most first-time braai hosts run into trouble. Neither requires technical skill, both require patience.
How to Build and Manage Your Fire
The single biggest beginner mistake is cooking over open flames instead of waiting for a proper coal bed. Patience in the fire-building phase pays off in evenly cooked, flavourful meat.
Here’s how it works in practice. Light your wood or charcoal and let it burn down until the flames die back and you’re left with glowing, grey-ashed coals. That process takes roughly 45 minutes for wood. The coals radiate steady, even heat that cooks meat through without burning the outside. Open flames spike hot and uneven, they scorch the surface and leave the inside raw.
Resist the urge to start cooking early. That’s the most common first-time mistake, and it’s easy to avoid once you know what you’re waiting for.
Planning Your Braai Timeline for Guests
Timing is the other variable beginners underestimate. A simple approach: light the fire 45–60 minutes before you want guests to eat. That gives you a proper coal bed and a buffer.
Start with easy proteins, boerewors is the classic first-braai choice for good reason. It’s forgiving on heat, cooks quickly, and is universally loved. Chicken pieces are similarly forgiving and work well early in the cook. Save steaks for when you’re comfortable with your fire, they’re less forgiving of inconsistent heat.
Keep snacks and drinks flowing while you manage the fire. Guests don’t mind waiting when they’re comfortable and the atmosphere is good.
Setting Up Your Outdoor Entertaining Space for a Stress-Free Braai
A little preparation before guests arrive makes you a calmer host during the braai itself.
Position your braai thoughtfully. Check the wind direction before you set up, smoke blowing into the seating area is uncomfortable and unnecessary. Keep a buffer of space between the braai and your seating.
Set up a prep surface nearby. A simple folding table beside the braai gives you somewhere to rest tongs, hold raw meat on a board, and stage cooked cuts. Without it, you’re making unnecessary trips back to the kitchen.
Plan your lighting for evening braais. The fire provides ambience, but you need practical light to see your grid and your meat. A few lanterns or string lights nearby solve this without disrupting the mood.
Keep guests comfortable. A shaded or sheltered spot for seating, a cold drinks station they can access themselves, and something to nibble on before the main event all reduce the pressure on you as host. For deeper inspiration on layout and design, outdoor entertaining space ideas for South African homes is a useful next read.
Keeping Your Braai in Great Shape After Every Gathering
Good maintenance protects your investment and keeps your braai performing well for years. The most effective care happens right after the cook, not hours later.
While the braai is still hot, let it burn off any residue for a few minutes, then brush the grid firmly with a stiff grid brush. Once everything has cooled completely, cover the unit to protect it from weather. That simple routine, burn off, brush, cover, prevents grease build-up and rust before they start. For a full cleaning and maintenance routine, our guide on braai maintenance and cleaning tips covers every step in detail.
Your first braai entertaining experience doesn’t need to be flawless, it needs to be enjoyable. Get the fire right, choose forgiving food to start with, and focus on making guests feel welcome. Everything else is detail. When you’re ready to choose your first braai or upgrade your current setup, explore the curated range at thefirehouse.co.za, every unit is one we’d happily light ourselves.